From bad to worse
- Mar 6, 2018
- 2 min read

After building the front panels, I pulled down the aluminum belly in the front. When I was looking at it, I discovered that the floor joists were completely rotten. The actual floor on the inside had not looked terrible or felt spongy, so I was not prepared for this.
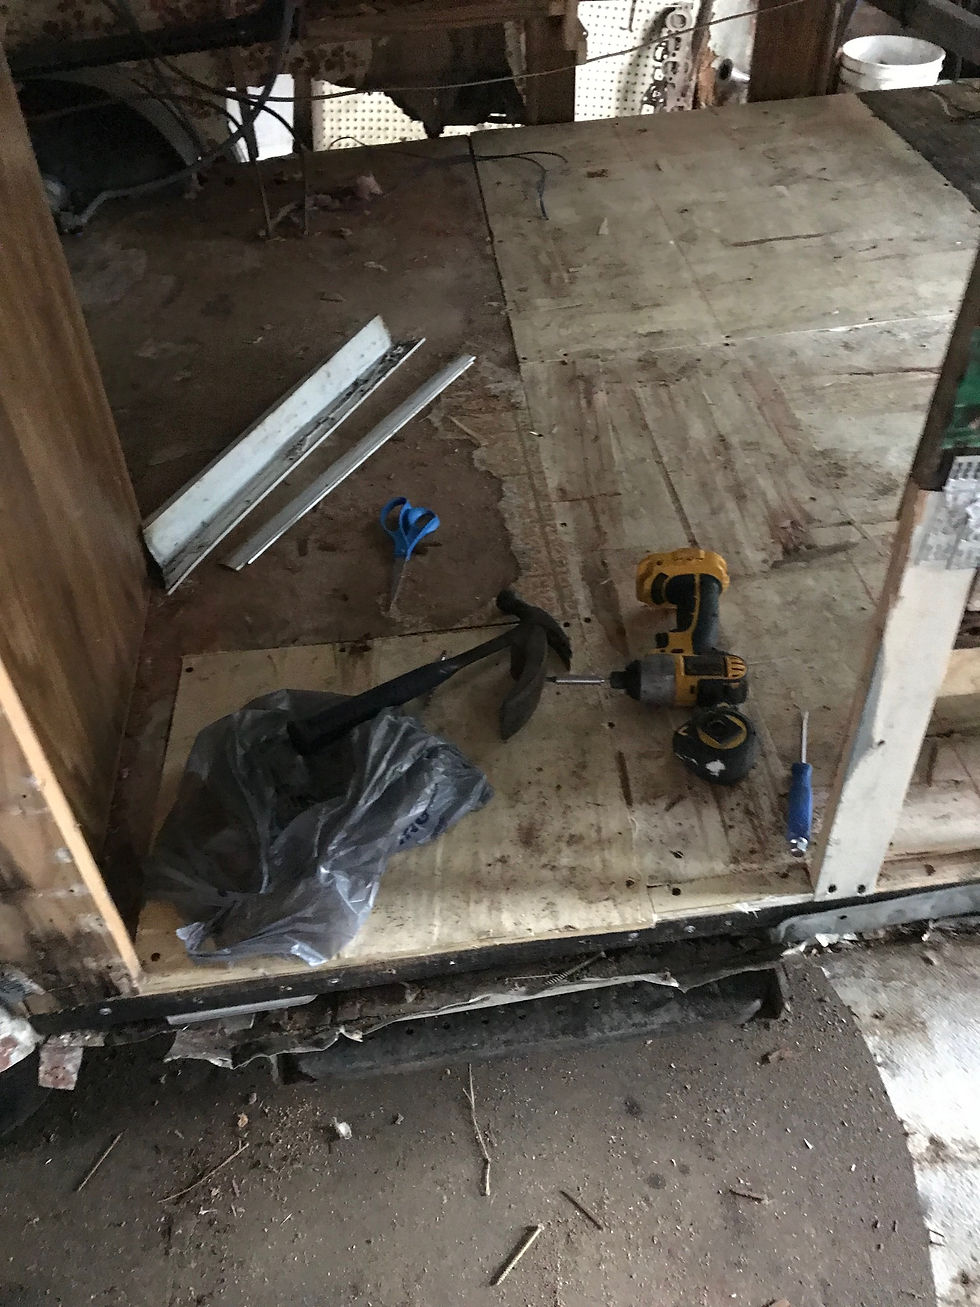
This meant I needed to replace the entire front portion of the floor. I took all the remaining aluminum off the bottom sides of the camper and started to demo the inside. The first thing to go was the dinette.

Luckily, I was able to borrow my brother's reciprocating battery-powered saw, which I daresay has been one of the most useful tools on this project so far. Campers are built from the inside out, so unless you want to skin the whole exterior to get to your screws, you need one of these. I also used a air-powered cutting disk.
It looked like someone had previously tried to repair the doorway by tacking down some particle board and a 2 x 4 across.
When I had removed a section of flooring, this is what the joists looked like. Nothing. It was just sawdust in a line.


The neighbor's dog, who likes to come in and check out how I'm progressing. Here in this picture, I was putting down new floor joists which had to be halted for a scratching and petting session.

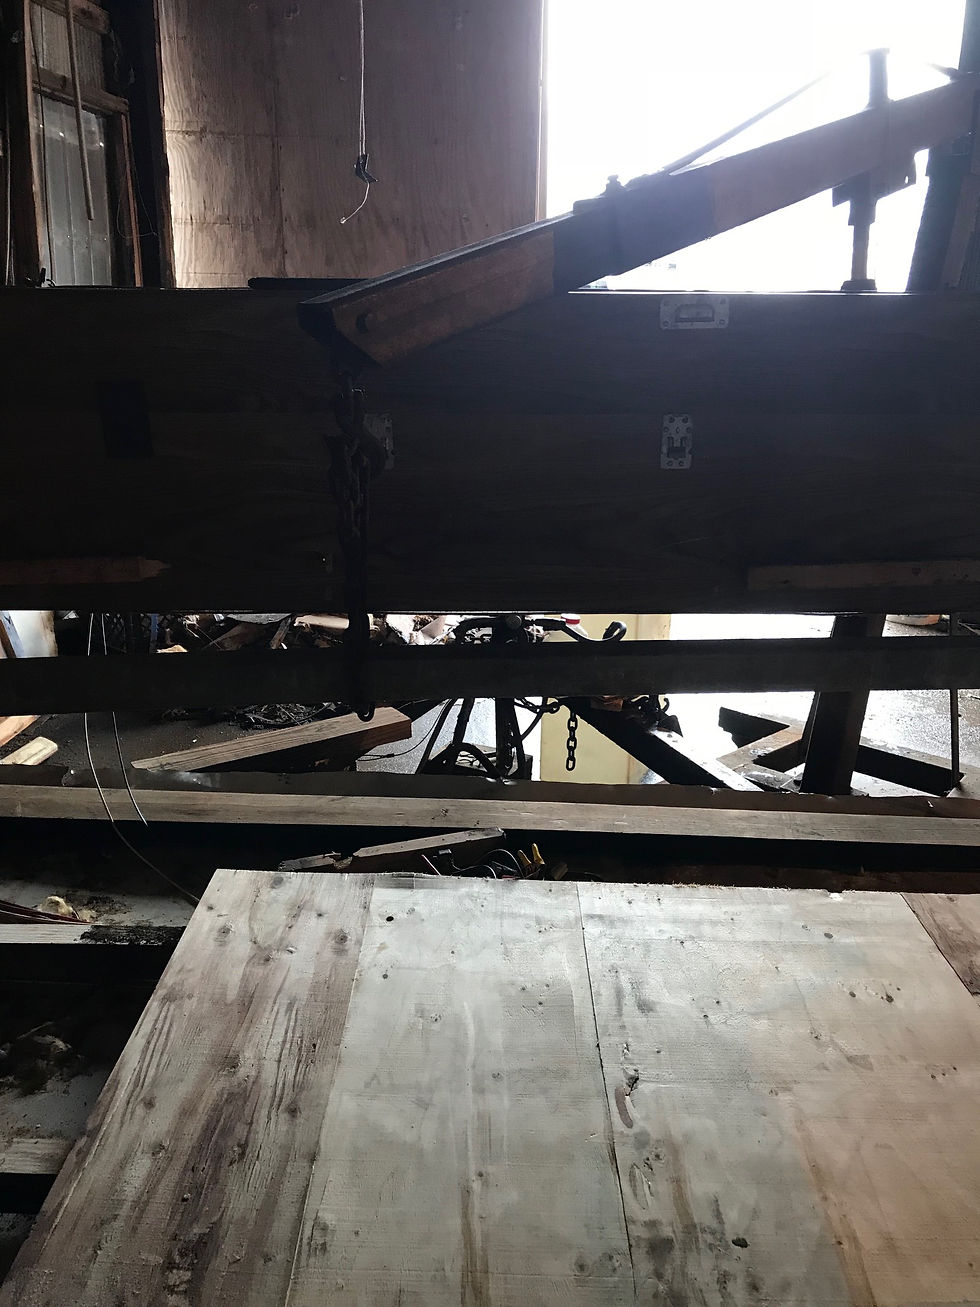
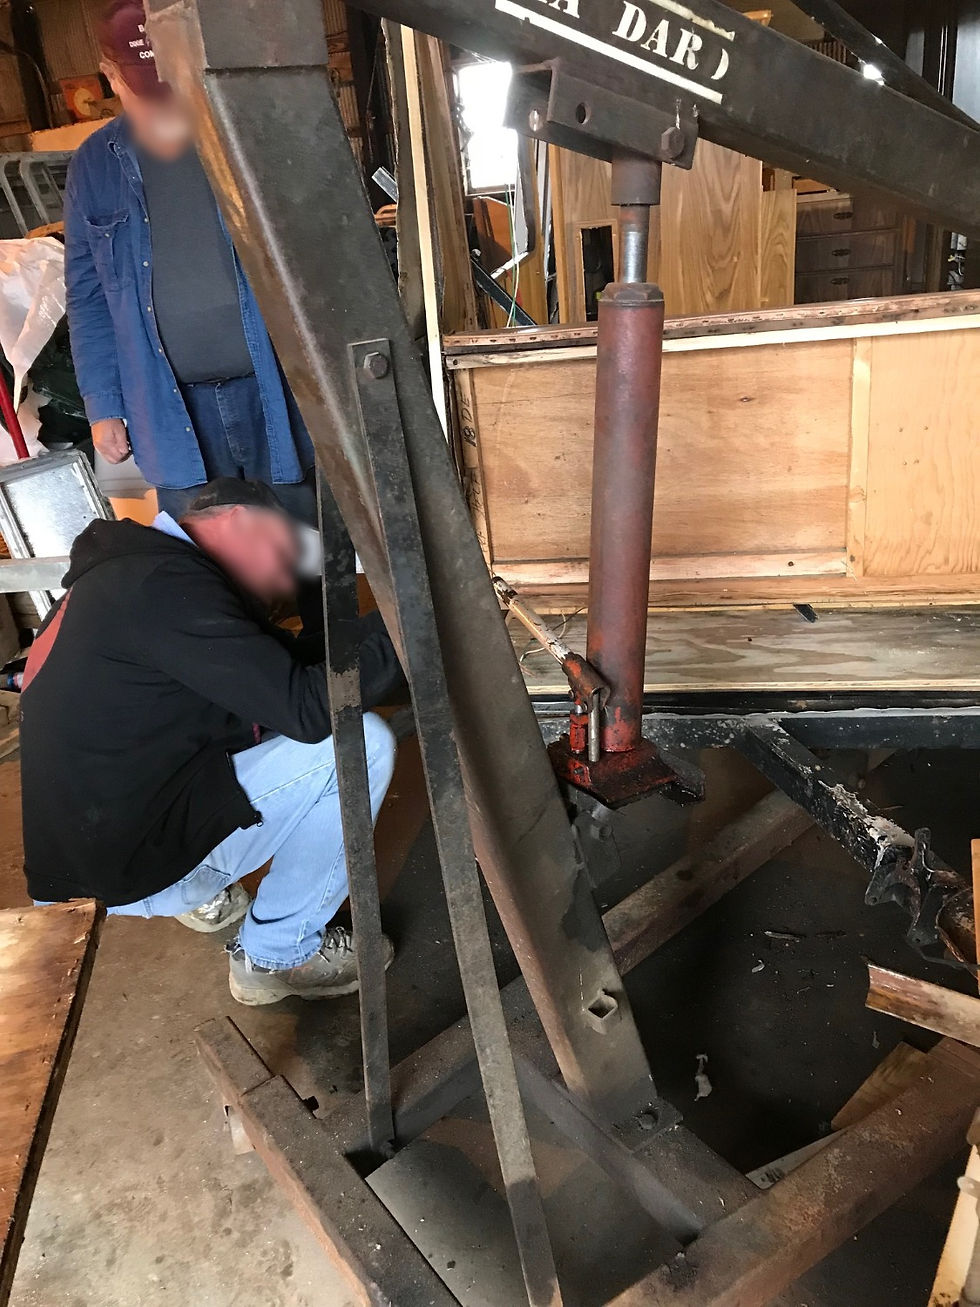
As I kept removing things, it appeared that the whole front of the camper was slowly inching downward. Our solution was a metal rail supporting the side walls, hoisted up by a cherry-picker.

My parent's neighbor and my brother, who both gave me invaluable advice when I was floundering, and made very helpful suggestions. They have also been very generous with their time, knowledge, and tools, to which I would not have made it this far without.

New subfloor in. These are half-inch plywood sheets from shipping pallets, bought for $3 apiece from some guy on Facebook. I also placed new insulation.

While trying to attach the carriage bolts to hold the new floor in place, it became woefully evident that the step needed work. With the sagging floor and badly placed 2 x 4, the strain had caused the step to pull away from the frame. This required a moment of begging to the best welder I know, who just so happens to be my sister. Unfortunately, we did not have a plug to fit her machine, so she had to use Daddy's welder, which is a pulsating annoyance, but she managed to weld the step back and strengthen it with some angle iron, and place a patch on the other side. Here she is, lying on the concrete on a very cold day.


Comments